Subscribe to get the latest information on products, technologies and management.
Join our growing community and stay informed with our free newsletters.
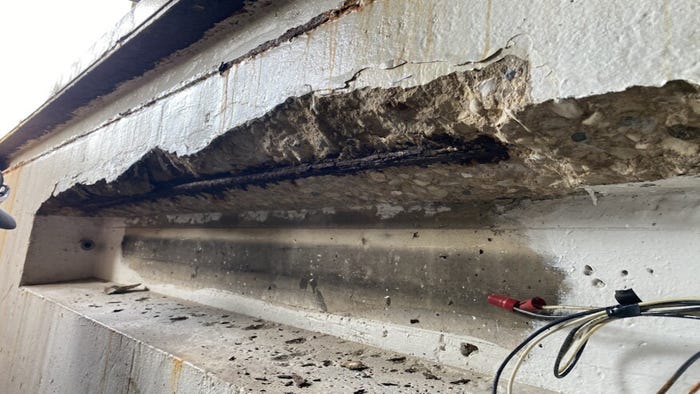
The builder needed to find a way to support exterior roof loads and an interior load-bearing beam while creating a 16-foot-wide rough opening.
August 9, 2023

Journal of Light Construction
As a young carpenter working on a condo project, Craftsman Builders owner Gary Striegler gained a good bit of experience installing 6-foot-wide sliding glass doors. The builder-grade units came fully assembled, and once the team got past the hurdle of hauling them to the right room, Striegler said installation was just a matter of laying down a bead of silicone on the floor, lifting the door into position, cross-taping it to make sure it was square and screwing the nailing flanges to the wall sheathing. The doors functioned well when they were new, but years later, Striegler noticed on a return trip for a remodeling project that many had been replaced with hinged units.
In this story, Striegler outlines a recent install of a much larger sliding glass door unit as part of a kitchen remodel and patio addition. The client was opening up the interior floor plan, replacing the kitchen cabinets and adding a roof over a large patio off the kitchen, but a major part of the project was replacing the existing windows and a door separating the kitchen from the patio with a 16-foot-wide-by-8-foot-tall sliding glass door. Sliding the two 4-foot-wide center operating panels open created an almost 8-foot-by-8-foot opening that extended the kitchen space outdoors.
Complicating the project, a large beam—installed as part of a previous remodel and carrying considerable roof and ceiling loads—was buried in the bearing wall that Striegler's team needed to remove to install the new door unit. Supporting the exterior roof loads and the interior beam while we made a 16-foot-wide rough opening was going to be a tall order. Since engineering was needed to size the new header, Striegler looked for a simpler solution.
To read the rest of this story along with step-by-step instructions with photos from JLC click here.
You May Also Like